

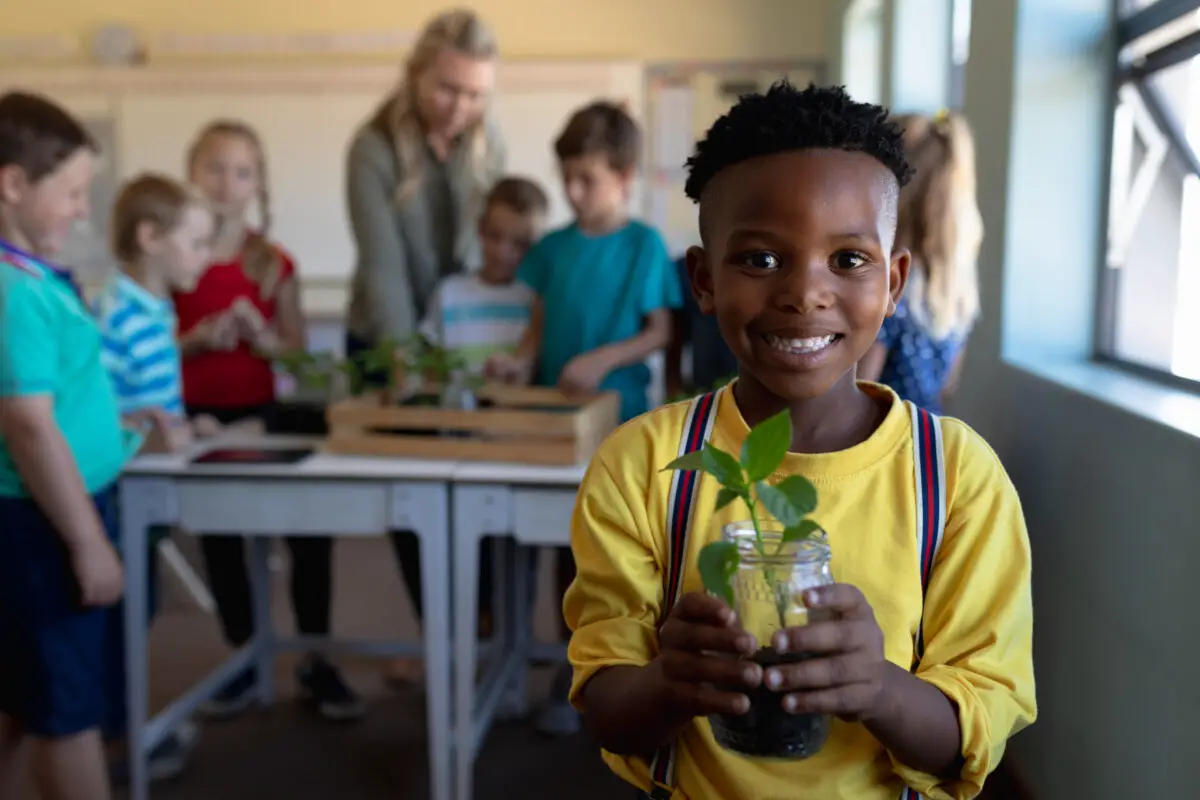
Engaging children in a seed germination experiment is an excellent way to introduce them to the wonders of plant life and the science behind it.
Children can learn firsthand about the conditions necessary for growth and the early stages of plant development by observing the daily changes in seeds.
This hands-on activity is perfect for preschoolers and older kids, integrating both fun and education seamlessly!
You only need a few simple materials to get started, making this experiment accessible and easy to set up at home or in the classroom.
Using materials like paper towels, plastic bags, and common seeds, you can create a mini greenhouse that allows children to see how seeds sprout and grow roots.
Seeing the transformation of seeds into sprouts offers immediate gratification, keeping children engaged and curious. As the seeds develop, kids can document their observations, enhancing their scientific thinking and understanding.
This experiment not only ignites a sense of wonder but also lays the groundwork for future explorations in botany and environmental science!
Table of Content
- Understanding Seed Germination
- Preparing the Experiment
- Conducting the Experiment
- Observation and Data Collection
- Learning from the Experiment
- Extension Activities and Resources
- Conclusion
Understanding Seed Germination
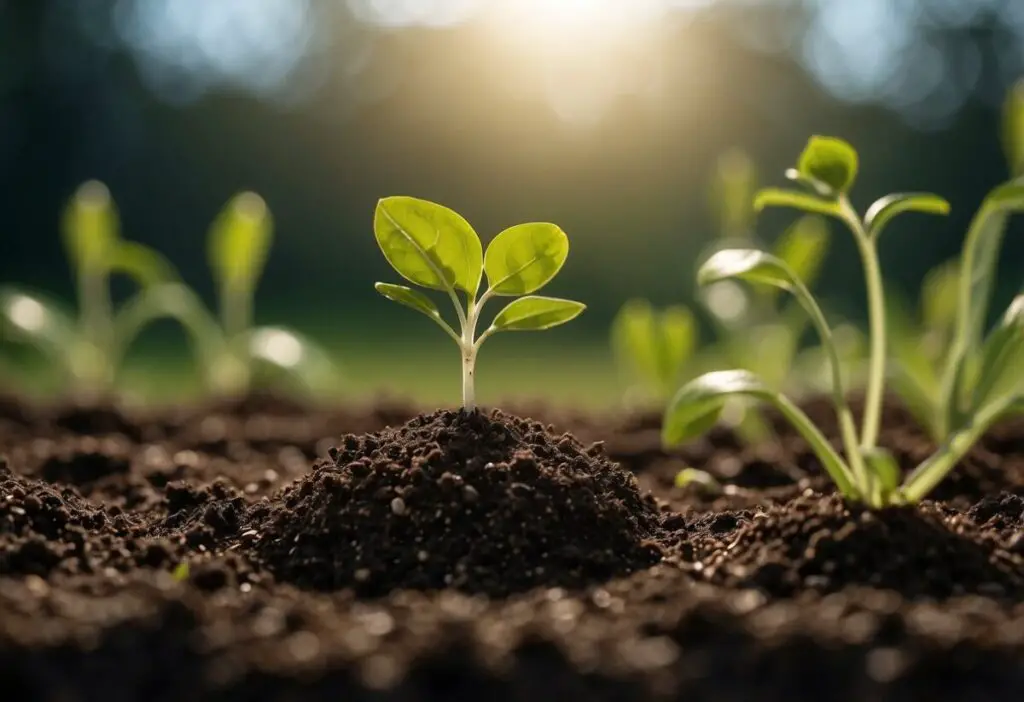
Seed germination is a fascinating process where a seed transforms into a new plant. Key topics include the scientific principles involved and the distinct stages of germination.
The Science of Germination
Germination begins when the seed absorbs water, a process known as imbibition. This causes the seed to swell and the outer seed coat to crack. Inside the seed, you’ll find the plant embryo, which includes essential components like the cotyledon (initial leaves), and the beginnings of the roots and stem.
Water, oxygen, and the right temperature are critical conditions for successful seed germination. The nutrients stored within the seed provide the energy needed for growth until the seedling is capable of photosynthesis.
Understanding these requirements helps in conducting effective and informative seed germination experiments.
Stages of Germination
Germination typically follows several stages:
- Imbibition: The seed absorbs water, causing it to swell and break open the seed coat.
- Activation: Metabolism within the seed increases, preparing for growth.
- Emergence of the Root (Radicle): The first root, known as the radicle, emerges to anchor the plant and begin nutrient and water absorption from the soil.
- Shoot Development: Following the root, the shoot begins to grow upwards, eventually breaking through the soil surface.
- Leaf Growth: Initial leaves, called cotyledons, start developing, facilitating photosynthesis.
Students need to observe these stages as they experiment with germinating seeds. By documenting each phase, students gain a clearer understanding of how a plant embryo transitions into a seedling with roots, stem, and leaves.
For a detailed example of a germination experiment setup, you can explore different methods like using plastic bags to observe the process.
Preparing the Seed Germination Experiment
Setting up a successful seed germination experiment involves selecting the appropriate seeds and gathering specific materials to create the right environment for growth.
Choosing the Right Seeds
Choosing the right type of seeds is crucial. Bean seeds like green beans and lima beans are excellent choices because they germinate relatively quickly.
Green bean seeds and lima beans are both robust and reliable for kids’ experiments. They have a high germination rate, making it easier to observe changes within a short period.
Different types of seeds can also offer varied learning experiences. For example, sunflower seeds and radish seeds can be used to compare growth rates and physical changes.
Soaking the seeds overnight in water helps “wake up” the seeds and kickstart the germination process. This step is not mandatory but can speed up the experiment and show results sooner.
Materials and Setup
Gathering the necessary materials beforehand simplifies the setup process. Here’s a basic list of items you’ll need:
- Seeds (bean seeds, green beans, lima beans)
- Paper towels
- Glass jars or mason jars
- Plastic bags
- Containers
- Water
- Soil (if using pots)
- Spray bottle
- Tape
- Pencil
Start by soaking the seeds overnight in water to prepare them for germination. Next, take a paper towel, dampen it with water using a spray bottle, and place the seeds on it.
Fold the towel to cover the seeds, then place it inside a glass jar or a plastic bag. Seal the bag or cover the jar with tape to reduce moisture loss.
Label each setup with a pencil or marker to track the type of seeds and date of setup. Position the containers in a well-lit area, but avoid direct sunlight to prevent overheating.
Regularly check on the seeds and spray water as needed to maintain a moist environment. This will encourage consistent germination and visible growth.
Conducting the Experiment
When conducting a seed germination experiment with kids, it’s important to demonstrate clear steps and identify the variables that can influence the results.
You will need common materials and an understanding of basic scientific principles to make the experiment engaging and educational.
Step-by-Step Procedure
First, gather your materials: seeds, resealable plastic bags, paper towels, water, and tape. Begin by wetting the paper towel until it is damp but not dripping. Place the seeds on one side of the damp towel and fold it over to cover them.
Next, place the paper towel with the seeds inside a resealable plastic bag. Seal the bag tightly to maintain humidity and then tape the bag to a window. Ensure the seeds are visible and that the bag gets ample sunlight.
Observe the seeds daily. Within 24 hours, you should start to see changes, such as seeds popping open. Record these observations in a notebook, noting the growth, root structure, and any other visible changes.
Variables to Consider
Temperature and light are crucial variables in this experiment. Seeds need a warm environment to germinate, typically between 60-75°F. Ensure the bags are placed in a spot that gets consistent sunlight.
Humidity inside the bag aids in water absorption and should be monitored. Too much water can cause mold growth, while too little will impede germination.
Consider the type of seed used. Different seeds have varying germination rates and requirements. Keep data on how these variables affect the results. Gravity’s impact, or gravitropism, should also be noted as roots grow downward.
Recording observations on the pH of the water and soil (if using) can add depth. Monitoring and adjusting these variables provide a comprehensive scientific experience.
Observation and Data Collection
During a seed germination experiment, tracking plant growth and documenting observations are crucial for understanding how different factors affect the progress of roots, stems, and leaves.
Tracking Plant Growth
Keeping a consistent record of plant growth allows you to monitor changes in roots, stem, and leaves over time. Use a growth chart to note daily or weekly measurements. Track parameters such as the height of the plant, number of leaves, and root length.
For a more engaging process, create a visual tracking system. For instance, you can use a printable growth diary where kids can draw or take photos of the plant’s progress.
important milestones like the first root emergence or the appearance of the first leaves. Consistent tracking provides valuable data for analyzing the effects of variables like water and light on plant growth.
Documenting Observations
Documenting observations thoroughly ensures you capture significant details about the plant’s development. Use a science project worksheet to record daily changes in the plant’s appearance and health.
Note specifics such as the color of the leaves, stem thickness, and any notable differences in growth rate compared to other plants in the experiment.Encourage kids to ask questions and make predictions about their plants.
This can include predicting how changes in light or water will affect the growth. For a structured approach, kids can utilize templates like a 10-frame grid to place and observe seeds in a controlled manner.
Documenting these observations will help you draw conclusions about the optimal conditions for seed germination.
Learning from the Experiment
Observing the seed germination process offers valuable insights into plant development and allows children to understand plant life cycles better. The experiment encourages learning through hands-on engagement and empirical data collection.
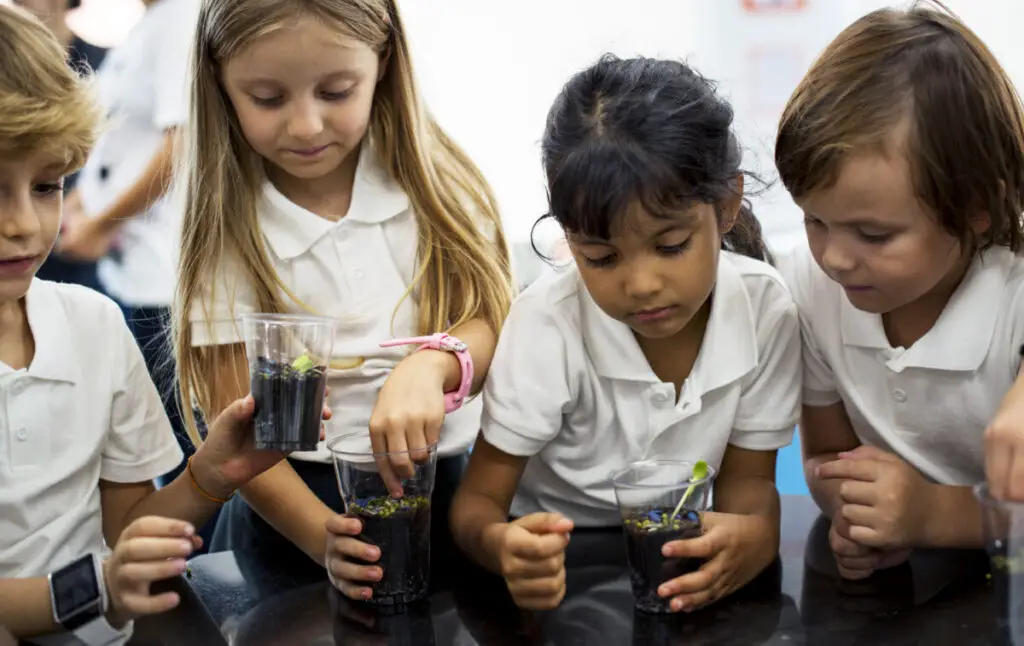
Analyzing Experiment Outcomes
As the seeds begin to germinate, encourage kids to make daily observations. Note changes such as the initial swelling of the seeds, the emergence of the root, and the growth of the shoot. Using a journal or a table to record these observations helps in tracking progress.
Recording the germination rate—the number of seeds that successfully sprout—enables you to discuss the conditions that favor germination. You can also introduce concepts like the root system development by observing how the root anchors and absorbs water.
Making comparisons between seeds grown in different conditions (e.g., varying light or water levels) enhances the learning experience.
Connecting to Plant Life Cycles
Link the observations from the germination experiment to the broader plant life cycle, emphasizing how the root system and shoots are foundational stages. Discuss with kids how the bean plant or other seeds used in the experiment will eventually grow leaves, flowers, and produce new seeds.
This hands-on learning builds a concrete understanding of each stage of the plant life cycle. Use visual aids such as diagrams to illustrate these stages and compare them with what they observed.
Connecting these observations to real-world gardening or farming practices can further solidify the learning experience and make it relevant.
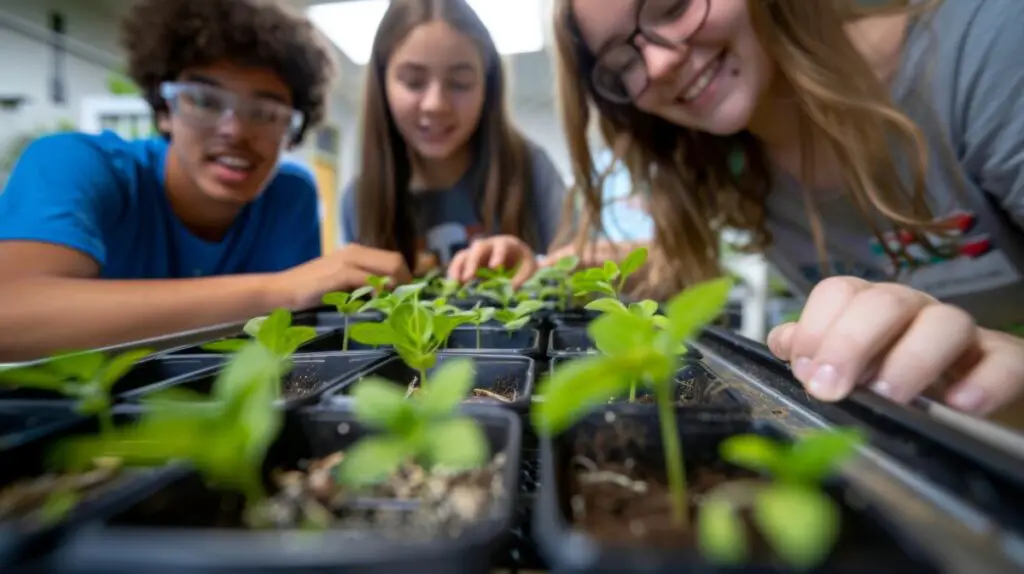
Extension Activities and Resources
Extend your seed germination experiment by incorporating creative projects and useful educational tools. This approach enriches the learning experience, making it more engaging for kids and easier for educators to implement in the classroom.
Seed Art and Creative Projects
Incorporate seed art ideas to make the science activity more enjoyable and artistic. Have kids create mosaics using various seeds, exploring different shapes and textures. Encourage them to design a garden scene by gluing seeds onto a canvas. This activity enhances their creativity while learning about seeds.
Create a table displaying different seeds and their characteristics. Kids can classify them based on size, shape, and color.
For a more interactive experience, provide a magnifying glass for close-up observations. This helps in building detailed vocabulary related to plant biology and the parts of a seed.
Educational Tools for Teachers
Provide printable worksheets and free printable resources to assist with lessons. These can include observation sheets, seed diaries, and lesson plans. Offer detailed instructions on setting up the experiment and prompts for discussion questions.
Use educational tools like time-lapse videos of seed germination to show students the entire process if time constraints exist. Incorporate digital tools where students can record their data and track growth patterns.
Making use of these tools ensures that the activity is adaptable to various grade levels and meets specific curriculum requirements set by educators.
Enhance your classroom science experiments for kids by using theme-based projects related to seed germination. This can include a unit on plant life cycles or ecosystems. Teachers can align these activities with broader learning goals to provide a well-rounded educational experience.
Final Thoughts
Completing a seed germination experiment with kids is a rewarding and educational activity. It provides hands-on learning about plant biology and the growth cycle. Using simple materials like plastic bags and paper towels, you can easily set up a germination station. Encourage children to observe how conditions such as light and moisture affect seed growth. This observation helps them understand the importance of environmental factors!