

Building a DIY solar oven can be a rewarding project that teaches you about renewable energy and sustainability while also providing a practical tool for cooking food using only the power of the sun. A solar oven uses reflective materials to concentrate sunlight into a contained area, cooking food without the need for conventional fuels. This eco-friendly cooking method is not only cost-effective but also a great way to reduce your carbon footprint.
As you set out on this DIY adventure, it’s important to understand the materials you’ll need and the steps to construct your solar oven effectively. Gathering items such as cardboard boxes, aluminum foil, and plastic wrap is a typical starting point. Ensuring the proper insulation and focusing on maximizing the reflection of sunlight are crucial aspects of building a functional solar oven.
Throughout the process, you may encounter common challenges such as regulating the oven’s temperature or finding the optimal angle for sunlight exposure. It’s important to troubleshoot these issues calmly and systematically.
By taking your time and being attentive to detail, you can create a reliable solar appliance that harnesses natural energy for everyday cooking tasks.
Table of Content
- Understanding Solar Ovens
- Design and Materials
- Building Your Solar Oven
- Maximizing Efficiency
- Common Problems and Solutions
- Maintenance and Care
- Advanced Tips
- Conclusion
Understanding Solar Ovens
In exploring how to harness the sun’s energy for cooking, you’ll find solar ovens are both a practical and educational tool.
Principles of Solar Cooking
Solar ovens operate on a simple, yet effective principle: they convert sunlight into heat. Reflective materials, like aluminum foil, direct sunlight into a well-insulated box, where the heat is trapped and used to cook food. This principle is akin to the greenhouse effect, where light enters and is converted to heat that cannot escape. Your solar oven’s efficiency hinges on how well you can maximize sunlight capture and minimize heat loss.
Benefits and Limitations
The benefits of using a solar oven are multifaceted:
- Eco-Friendly: Solar ovens use renewable energy, which reduces reliance on fossil fuels and minimizes your carbon footprint.
- Cost-Effective: After the initial setup, the cost of cooking is essentially free as it doesn’t require fuel or electricity.
- Portable: Many solar ovens are lightweight and can be easily transported, making them ideal for camping or emergency situations.
Despite the advantages, there are some limitations to consider:
- Weather Dependent: Solar ovens require sunny conditions to function efficiently.
- Time: Cooking with a solar oven often takes longer than conventional methods.
- Temperature Limitation: Achieving high temperatures can be challenging, which may limit the types of food you can cook.
Design and Materials
Creating an efficient solar oven hinges on selecting appropriate materials and understanding how design influences performance. This section outlines critical details to help you build a solar oven with optimal functionality.
Choosing the Right Materials
To start your DIY solar oven with strong fundamentals, opt for materials designed to withstand high temperatures and outdoor exposure. Your main structure should be a sturdy, sizeable cardboard box — something between 1 and 2 cubic feet, ideal for concentrating sunlight. The cooking chamber’s durability can be augmented using materials like thick cardboard or rigid plastic containers, ensuring long-term use and stability.
- Box material: Cardboard (1-2 cubic feet in size)
- Cooking chamber: Thick cardboard or plastic
Insulation Basics
Insulation is pivotal for heat retention, preventing energy from escaping. Your solar oven’s insulation should have low thermal conductivity. Commonly, people use readily-available materials such as newspaper, wool, or shredded paper to line their oven’s inner walls, efficiently trapping heat for cooking.
- Insulation materials: Newspaper, wool, or shredded paper
- Location: Line the inner walls
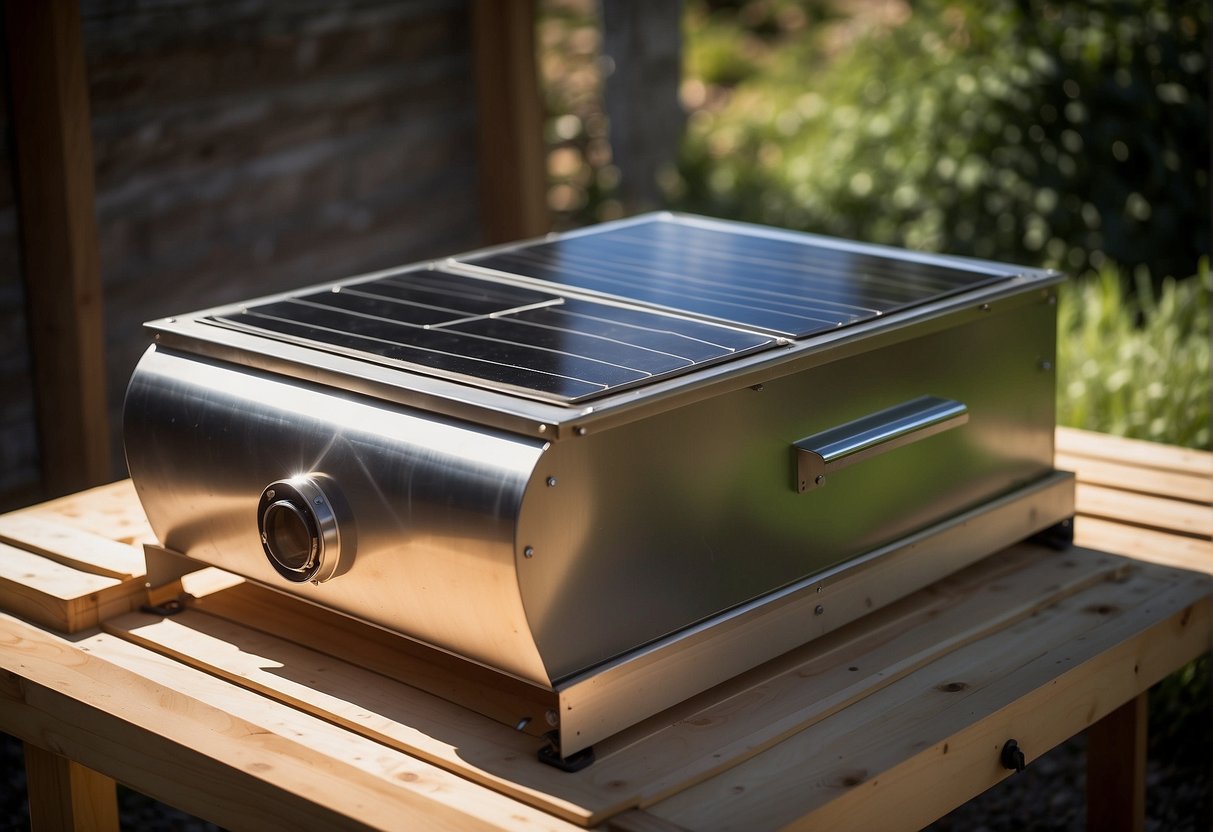
Reflective Surfaces
Reflective surfaces play a vital role by focusing sunlight into your oven. Utilize a non-toxic, heat-resistant reflective material like aluminum foil. Attach the aluminum foil to the flap to act as a reflector, significantly increasing the oven’s temperature. The Home Science Tools guide suggests wrapping foil tightly around the flap and securing it to the back.
- Reflective material: Aluminum foil
- Placement: Inner side of the flap
Building Your Solar Oven
Building a solar oven is a practical and eco-friendly project that allows you to harness the sun’s energy for cooking. With careful planning and consideration of safety, you can create an efficient device that serves your off-grid cooking needs.
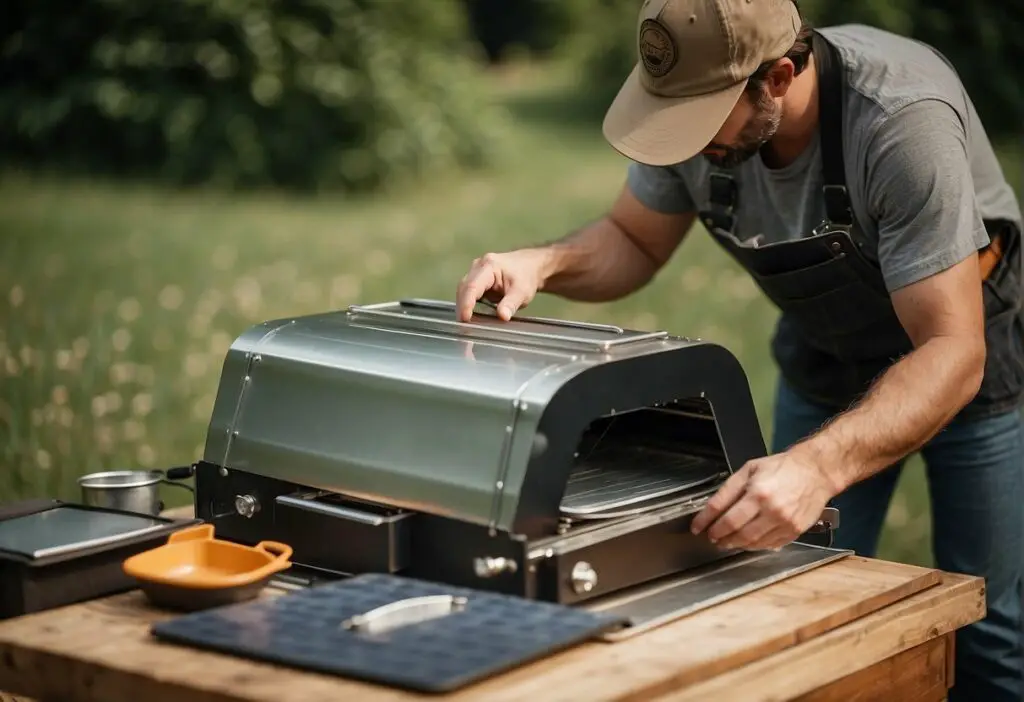
Step-by-Step Construction Guide
- Collect Materials: You’ll need a cardboard box, preferably one that’s between 1 and 2 cubic feet in volume. Gather aluminum foil, clear plastic wrap, black construction paper, and insulation materials like shredded newspaper.
- Insulate Your Box: Line the bottom of the box with black construction paper to absorb heat. Then, insulate the sides of the box with newspaper to retain the sun’s warmth.
- Reflective Surface: Cover the inner sides and the flap of the box with aluminum foil, ensuring it’s tightly glued or taped to avoid wrinkles that can diffuse the sunlight.
- The Cooking Window: Stretch a double layer of plastic wrap across the top of the box to create an airtight window for sunlight to enter while retaining heat.
- Assembly: With these components in place, your DIY solar oven is ready for the sun’s rays. Position the oven at an angle where it receives maximum sunlight, using a stick to prop the foil-lined flap to reflect the sun into the box.
Safety Considerations
- Fire Risk: Never leave your solar oven unattended. Inspect the reflective materials to ensure they’re secure and can’t catch fire from focused sunlight.
- Cooking Safety: When reaching into the oven, protect your hands with oven mitts to avoid burns from the hot interior surfaces.
- Food Safety: Monitor the temperature and cook times. Solar ovens generally reach up to 200°F, so it’s crucial to ensure food is thoroughly cooked to avoid foodborne illnesses.
By following this guide and keeping these safety tips in mind, you’re on your way to successfully building and operating your own solar oven.
Maximizing Efficiency
To ensure your DIY solar oven reaches its peak performance, focusing on the oven’s orientation and temperature control is essential. These tailored strategies specifically target the aspects of alignment and insulation to amplify your oven’s efficiency.
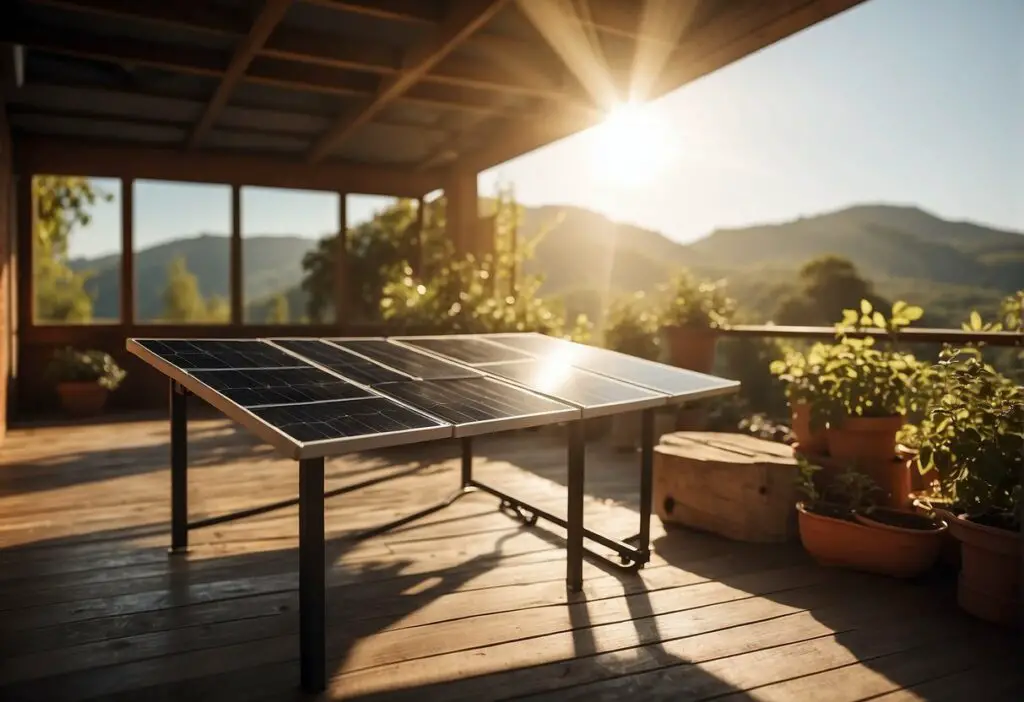
Orientation Towards the Sun
Position your solar oven so that it faces the sun directly. This angle ensures the sun’s rays are concentrated effectively. For example, in the Northern Hemisphere, you will want to orient your oven to the south. Between prime cooking times of 10 AM and 2 PM, periodically adjust the direction your oven faces to maintain consistent exposure to the sun’s path.
Adjusting for Optimal Heat
- Insulation: Increase heat retention by using insulating materials. Wrap the sides of your oven with layers of insulating fabric or newspaper to trap heat effectively.
- Reflective Surfaces: Ensure your solar oven’s flap is covered with a reflective material like aluminum foil, which will direct more sunlight into the oven. Make sure it’s tight and smooth to reflect the maximum amount of sunlight.
- Sealing: A tight seal keeps heat inside. Use clear plastic wrap or a glass cover to create an airtight window on the top of your oven, which allows sunlight in but prevents heat from escaping.
By diligently adjusting your oven’s orientation and tweaking elements to optimize heat retention, you can significantly enhance your solar oven’s cooking power.
Common Problems and Solutions
When building and using a DIY solar oven, you might encounter several issues that can affect its performance. Understanding these common problems and implementing the recommended solutions will help ensure your solar oven works efficiently.
Low Temperature Issues
If your solar oven isn’t reaching the desired temperatures, check for these potential factors:
- Reflective material: Ensure the aluminum foil inside the oven is properly placed and secured, as it’s critical for directing sunlight into the cooking area. A properly constructed solar oven should have a reflective surface free of wrinkles and tears.
- Insulation: Efficient insulation is key. Double-check the seals and consider adding extra layers around the cooking chamber to reduce heat loss.
Structural Concerns
A solar oven that’s not structurally sound can be inefficient and unsafe. Address these points to avoid such issues:
- Box integrity: The main body of your oven needs to be sturdy. Choose a cardboard box that’s both the right size and strength. A box similar to a beer cooler can work well.
- Door seal: The oven’s door must seal tightly to keep heat in. If you notice heat escaping, reinforce the door with additional adhesive strips or create a lip using folded aluminum foil.
Cooking Time Adjustments
The cooking time in a solar oven can be unpredictable, but here are tips to help manage it:
- Track the sun: You’ll need to adjust the oven’s position regularly to follow the sun’s path, maximizing your oven’s exposure to direct sunlight.
- Preheat before cooking: Like a conventional oven, a DIY solar oven performs better when preheated. Give it time to reach a steady temperature before placing food inside.
Maintenance and Care
Proper maintenance ensures your solar oven performs optimally and lasts longer. Pay special attention to the reflective surfaces and seals for best results.
Cleaning Tips
To clean your solar oven effectively:
- Reflective surfaces: Wipe down with a damp cloth to remove dust and grime. For tougher spots, use a mild soapy solution, rinse thoroughly, and dry with a soft cloth.
- Cooking area: After each use, clean the interior with a sponge and soapy water. If food is burnt on, soak the area with warm soapy water before scrubbing.
Regular Checkups
- Inspect seals every few months to ensure they’re airtight, maintaining heat efficiency.
- Check for damage to the structure and reflective materials; repair or replace them as necessary to maintain performance.
Advanced Tips
When building a DIY solar oven, maximizing efficiency and exploring various configurations can lead to better cooking results and more innovative designs. These advanced tips are aimed at enhancing your solar oven’s performance and considering alternative design approaches.
Enhancing Performance
To boost your solar oven’s temperature, you want to improve its heat retention and the reflection of sunlight. You can line the interior with black paint to increase heat absorption and use double-glazed glass for the top to trap more heat inside.
Additionally, adding insulation to the walls, such as foam or fiberglass, minimizes heat loss. For the reflectors, use a polished aluminum sheet instead of regular aluminum foil for a sturdier and more reflective surface.
Invest time in aligning your solar oven properly with the sun. Positioning it at a 45-degree angle to the sun’s rays can increase the intensity of the sunlight hitting the cooking area.
Alternative Designs
Experiment with different solar oven designs to find one that suits your unique needs. A parabolic solar cooker focuses sunlight to a single point, which can achieve higher temperatures quicker but requires frequent adjustment to follow the sun.
The box cooker, typically easier to build, allows for larger cooking areas. For a design that’s a mix of both, the panel cooker, which incorporates elements of a box and parabolic cooker, might be a desirable choice. Discover fully insulated “No Turn” solar oven designs that use high-quality materials and a strategic configuration to enhance heat retention and reduce the need for reorientation.
Also, investigate sustainable materials, perhaps integrating a sun-tracking system that automatically follows the sun’s path, optimizing cooking time without manual adjustment.
Conclusion
There you have it, folks! Your very own guide to building and a solar oven like a seasoned professional. Remember, patience and a little ingenuity are key ingredients. Sure, mastering this solar kitchen might take some practice, and you might not whip up a gourmet feast in record time. But hey, who needs instant gratification when you’ve got the sun on your side, right?
I do not even know how I ended up here but I thought this post was great I dont know who you are but definitely youre going to a famous blogger if you arent already Cheers.
Thank you so much for your kind words! It means a lot to us that you enjoyed the post, even if you stumbled upon it unexpectedly. Your encouragement truly motivates us to keep sharing content that resonates with readers like you. Cheers to you as well, and thanks again for taking the time for stopping by.
Thank you for creating such valuable content. Your hard work and dedication are appreciated by so many.
The staff sincerely appreciates your recognition of our content. Your acknowledgment of our dedication and hard work is truly motivating. Your support inspires us to keep creating meaningful material. Thank you for your kind words!