

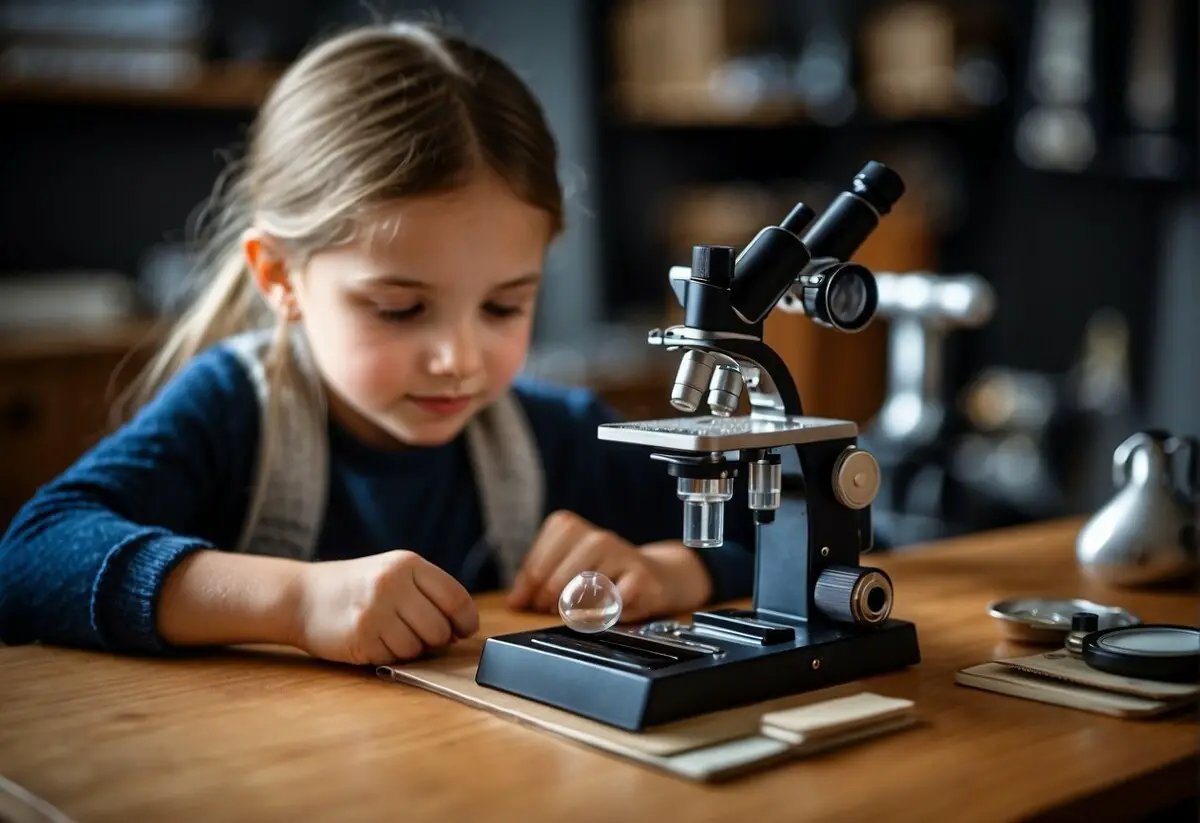
Exploring the microscopic world is a thrilling adventure for curious minds, especially for kids whose sense of wonder knows no bounds. Building your own DIY microscope opens the door to this tiny universe, offering an educational and engaging experience.
Not only is the construction of a microscope a hands-on project that fosters creativity and problem-solving skills, but it also provides a cost-effective alternative to commercially available models, making science accessible to everyone.
When you decide to embark on the journey of crafting a microscope, you will discover that the process is simpler than it might seem. With household items like clear tape, pencils, or a pipette, along with easily obtainable parts like lenses, you can construct a functional device capable of revealing intricate details invisible to the naked eye.
Whether you’re a parent, educator, or a DIY enthusiast, guiding kids through the creation of their personal microscope can be as enlightening for you as it is for them.
Moreover, the act of building and using your microscope instills basic scientific principles and paves the way for further exploration and learning.
Observing the magnified intricacies of everyday objects not only sparks curiosity but also lays the groundwork for a deeper understanding of biology, materials science, and optics.
The satisfaction of constructing a powerful educational tool opens new perspectives on the world, nurtures critical thinking, and illuminates the microscopic marvels that surround us.
Understanding Microscopes
Before diving into the construction of a DIY microscope, you need to grasp some foundational concepts. This includes understanding the basic optical principles that enable a microscope to magnify objects and recognizing the different types of microscopes available.
Optical Principles
A microscope works by bending light rays to magnify images of small objects through lenses. These lenses are convex, meaning they curve outward, and focus the light to a specific point called the focal point.
The magnification of an object is achieved when light passes through the first lens, known as the objective lens, and then through a second lens, called the eyepiece.
The magnification power of a microscope is determined by multiplying the power of the objective lens by the power of the eyepiece. For example, an objective lens that magnifies 10 times (10x) combined with an eyepiece that magnifies 20 times (20x) will result in a total magnification of 200 times (200x).
Types of Microscopes
There are primarily two categories of microscopes: compound microscopes and stereomicroscopes.
- Compound Microscopes: These use multiple lenses to achieve high magnification and are ideal for viewing very small specimens that are not visible to the naked eye, like cells or bacteria. They typically have at least two sets of lenses: an objective lens close to the specimen and an eyepiece through which you view the enlarged image.
- Stereomicroscopes: Also known as dissecting microscopes, these provide a 3D view of the specimen at lower magnification. They are used for dissection or examining the surface of solid objects and utilize two separate optical paths to give depth perception.
For educational and DIY purposes, kids can also build simple microscopes using materials like lenses from a phone camera or water droplets to function as rudimentary lenses, providing a basic understanding of how microscopes magnify objects.
Gathering Materials
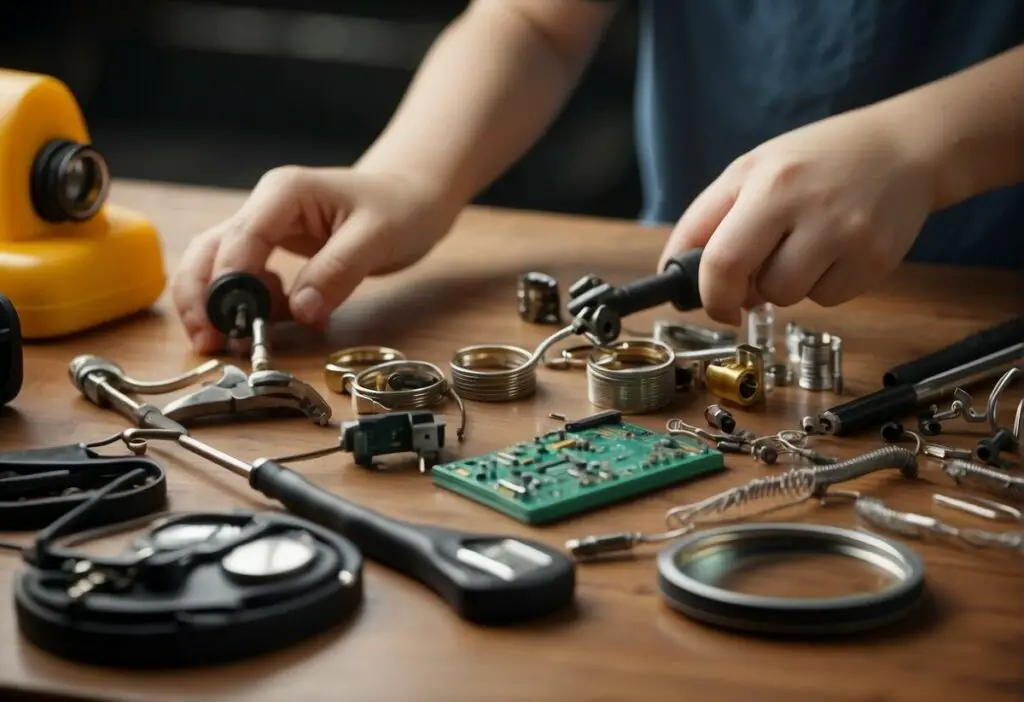
Building your own microscope involves collecting specific optical components and structural parts, ensuring the project’s success through precision and functionality.
To create the magnification necessary for your DIY microscope, you’ll need lenses. Acquire lenses with short focal lengths, such as those from disposable cameras or magnifying glasses.
The lenses are the heart of your microscope, offering the ability to see details that are invisible to the naked eye.
Optical Components
Structural Parts
Your microscope’s structure can be assembled from common household items. Obtain a clear plastic cup, cling wrap, and a rubber band to hold the setup. For a stable base, a heavier material like clay or playdough can be used. Ensure that all components fit securely together to maintain the integrity of your microscope during use.
Step-by-Step Assembly
To construct a basic DIY microscope that’s suitable for kids, follow these concise steps:
Materials Needed:
- Two small tubes
- Two lenses with short focal lengths
- Super glue
- LEGO bricks (optional)
- Cling wrap
- Rubber band
- Smartphone (optional)
Step 1: Attach the Lenses
- Find two tubes where the diameter of the lens matches the diameter of the tube.
- Super glue a lens to one end of each tube.
- Allow the glue to dry thoroughly before moving on.
Step 2: Frame Construction
- For a LEGO build, follow the instructions from Freethink for assembling a frame out of LEGO bricks.
- Ensure that the structure is sturdy and can hold the tubes in place.
Step 3: Assemble the Body
- Insert one tube into the other to create an adjustable focusing mechanism.
- Attach your tubes to the frame securely, ensuring that they align properly.
Step 4: Prep the Specimen
- Cut a hole in the bottom of a cup if not using the LEGO method, as described on Childhood101.
- Stretch cling wrap over the top of the cup and secure with a rubber band.
- Place the specimen through the hole.
Step 5: Magnification Adjustment
- Add a drop of water on top of the cling wrap to create a water lens.
- Adjust the distance between the tubes to focus on the specimen.
Remember to supervise children when using super glue and sharp tools. With this simple setup, you’ll create an educational tool that can provide hours of fascinating exploration.
Using the Microscope
When you build your own microscope, understanding its basic use and how to maintain it will enhance your experience and ensure it lasts longer.
Basic Operations
Firstly, assemble your microscope carefully according to provided guidelines. If you’ve created a microscope with a water drop lens, be gentle when adding the water droplet to the lens area—as this acts as your magnifying glass. For viewing objects:
- Place the slide under the tape or cling wrap lens with the specimen you wish to observe.
- Adjust the microscope so that the lens is directly over the specimen.
- Gently modify the distance between the lens and the slide to get a clear image.
With a cup and cling wrap microscope, ensure the cling wrap is taut and secured with a rubber band. Drop a small amount of water onto the cling wrap and look through this makeshift lens to view your specimen.
Maintenance and Care
To keep your DIY microscope in good condition:
- Clean the lens area after each use, being careful not to scratch or tear it.
- Store the microscope in a dry place to prevent mold growth and water damage.
- Inspect the components regularly for wear and tear, especially if they are made from common household items.
For cardboard microscopes, it’s crucial to handle them delicately and avoid exposing them to moisture which can weaken the structure. Make sure to follow these steps to keep your homemade instrument useful for many discoveries.